Requirements: Adobe PS 2018
Tutorial Skill Level: Beginner
Time To Completion: 1 hour to many more, depending on your own perfectionism
Why make a map? It’s actually a question with more answers than you might think. One, if you’re looking for a way to burn about a half hour on some kind of digital craft, I’ve got you covered. Two, if you’re looking to familiarize yourself with the inner workings of Adobe PS, this will explain enough of the tools involved in map creation to allow you to apply those tools to other things as well.
And three… Three is a bit of what I like to call an ‘Insider’s Secret’. The thing is, there are a few clever individuals who make custom maps like these for people on Etsy. And they sell them for money. Like serious $$$, usually $80 minimum for something that’s much easier to do than it might appear.
If people knew how to actually make these maps, they wouldn’t be paying half as much for them. And today, I’m going to give you everything you’ll need to get started on making them.
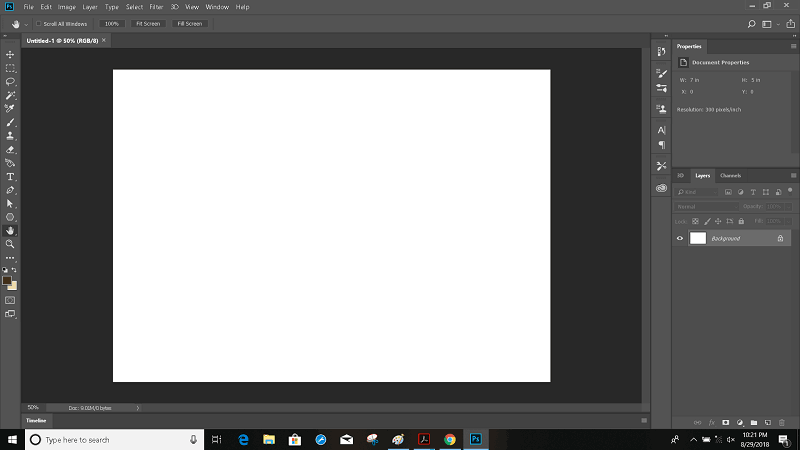
Step 1: Open Adobe Photoshop. Go to File > New > Don’t bother with the name, you won’t need this for long. You can set the dimensions to anything you like, but for me, I’m going to be using the Adobe PS standard of 7in by 5in. Just make sure your resolution is 300ppi.
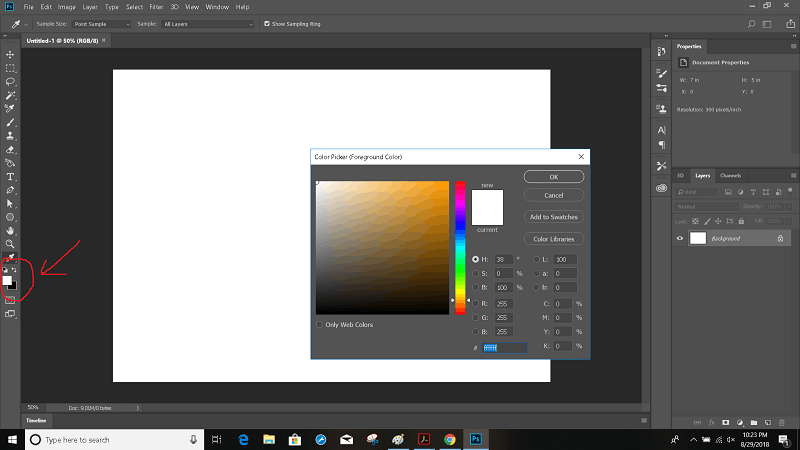
Step 2: Make sure you have black and white as your foreground and background colors, doesn’t matter which are which. You can see my foreground and background colors through the box highlighted in the image below. You can change each color by clicking on it.
Step 3: Filter > Render > Difference Clouds. If you’d like to repeat the filter and add more complexity, use the shortcut Alt+Ctrl+F to do so. If you’d like to get rid of some of that complexity, use the undo shortcut Alt+Ctrl+Z. Remember this shortcut in particular. It is your best friend in Photoshop.
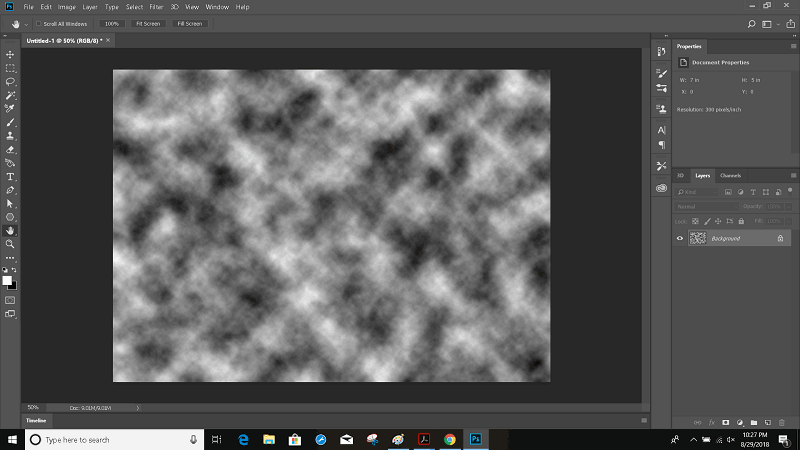
So, now our screen is cloudy. Who cares?
Step 4: Put those clouds to work. Image > Adjustments > Thresholds. You’ll see all those gradients go to hard black and hard white. Experiment with this a few times, if you can’t find anything you like, go back, add another layer of clouds. Note that the stuff you’re getting here will be your map. This is essentially you generating a bunch of puzzle pieces that you’ll use to make your map.
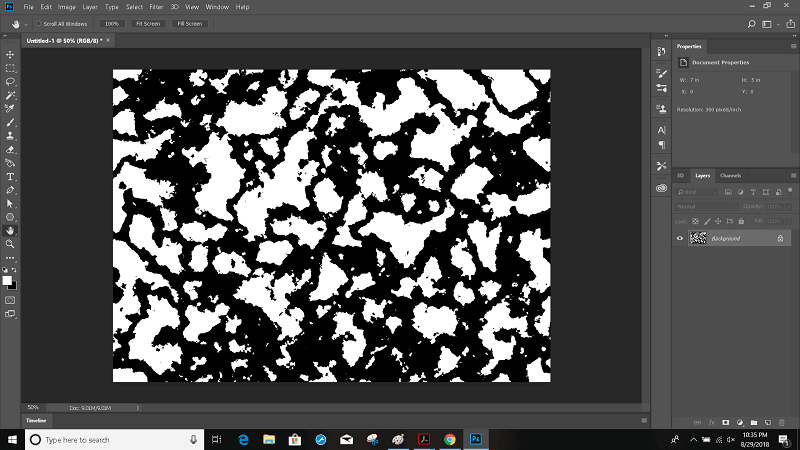
Mess with the thresholds bar to find something you like. Note: You’re looking for the shapes around the edges here… and the ones you want can be either black or white, but they’ll need to be black when you use them (next step). If you ever want to invert your image, Ctrl+I.
Step 5: Let’s get crazy. Create a second project, blank, same dimensions as your first one. Call this one “Test Alpha” or something similar. Drag the resulting tab off until PS adds the new project as a separate window.
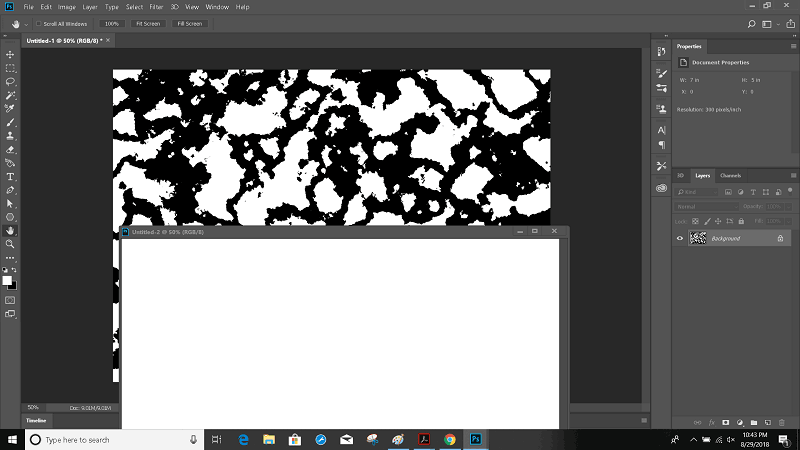
Step 6: With your clouds file selected, press “L” to select your Lasso tool. Use this tool to lasso around an area that you like. Then cut it “Ctrl+C“, select your blank project, and paste it there “Ctrl+V“. You can continue this to your liking until you start getting a decent looking alpha. Let the pieces overlap to form up a landmass. Also, each time you do this, you’ll create a new layer that you can move with the move tool “V”.
In addition to the lasso tool, feel free to use the magic wand tool and the smart select tool. You’ll have one of these selected by default, the other one can be found by right-clicking the tool’s space on the toolbar (The one that’s selected when you press “W”).

Change all your layer’s blending mode from “Normal” to “Multiply” by clicking the circled dropdown menu. This gets rid of all the white bits.
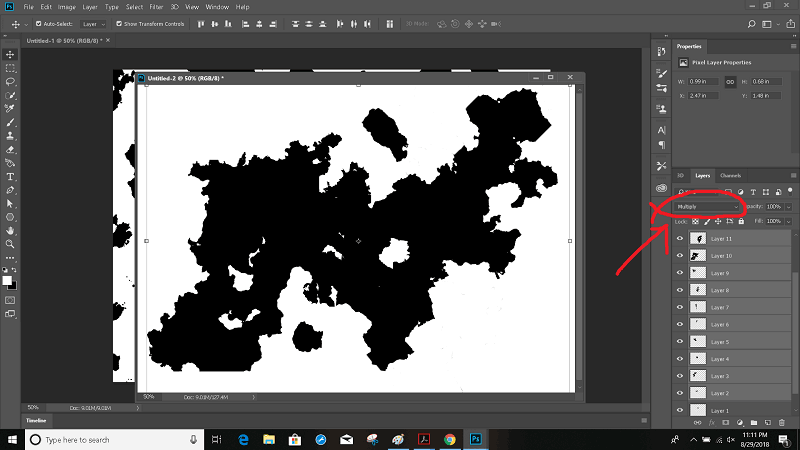
Mine looks pretty solid. I’m ready to move forward….









Caroline Walker
August 31, 2018 at 10:22 pm
The content I didn’t realize I needed