


The Complete Guide to Replacing the Battery in Your Apple AirTag. Welcome to our comprehensive guide on replacing the battery in your Apple AirTag. As a proud owner of this innovative Bluetooth tracker, it’s essential to know how to maintain and replace its battery when the time comes properly. In this guide, we will walk you through the step-by-step process of replacing the battery in your AirTag, ensuring that you can continue to track and locate your belongings with ease.
Understanding AirTag Battery Replacement
The Battery Type and Availability
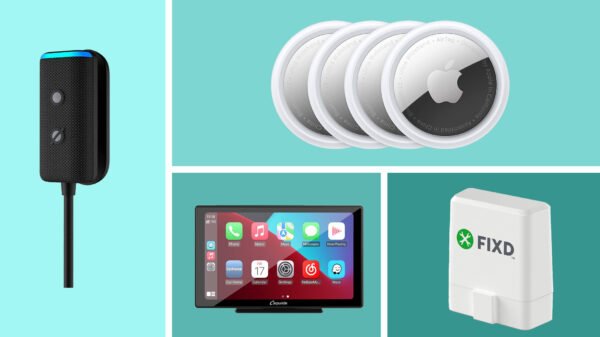
The Apple AirTag utilizes a replaceable battery known as the CR2032 battery. This standard 3-volt lithium coin-cell battery is widely available in most stores, making it easily accessible for AirTag owners. Its widespread availability ensures you can conveniently purchase a replacement battery whenever needed.
Battery Life and Low Battery Indications
The battery life of an AirTag is estimated to last approximately one year with typical usage. However, the actual battery life may vary depending on factors such as usage frequency and environmental conditions. When the battery is running low, your iPhone will notify you in advance, allowing you to purchase a replacement battery proactively.
Step-by-Step Guide to Replacing the AirTag Battery
Tools Required
Before you begin, ensure you have the following tools ready:
- Apple AirTag
- Replacement CR2032 battery (readily available in most stores)
Instructions
- Prepare for Battery Replacement: Ensure you have a fresh CR2032 battery available for replacement. Locate the AirTag that requires a battery change.
- Remove the Battery Compartment Door: Press down on the battery compartment door of the AirTag and rotate it counter-clockwise to unlock it. This action will release the door, allowing you to lift and remove it.
- Remove the Old Battery: Lift and remove the old battery from the AirTag. Take note of the positive and negative ends of the battery to ensure proper alignment with the replacement battery.
- Insert the New Battery: Take the fresh CR2032 battery and insert it into the AirTag’s battery compartment with the positive end facing up. Ensure that the battery is securely placed.
- Reassemble the AirTag: To reassemble the AirTag, follow the previous steps in reverse order. Align the battery compartment door with the designated slot and rotate it clockwise to lock it in place. You should hear a chime from the AirTag, indicating a successful installation.
Conclusion
In conclusion, replacing the battery in your Apple AirTag is a straightforward process that can be accomplished without needing any special tools or skills. Following our step-by-step guide, you can easily replace the CR2032 battery, ensuring that your AirTag remains functional and ready to help you track and locate your belongings. Remember to periodically check the battery life of your AirTag and proactively replace the battery when your iPhone notifies you of a low battery. Enjoy the peace of mind that comes with knowing your AirTag is always ready to assist you in finding your valuable items.