


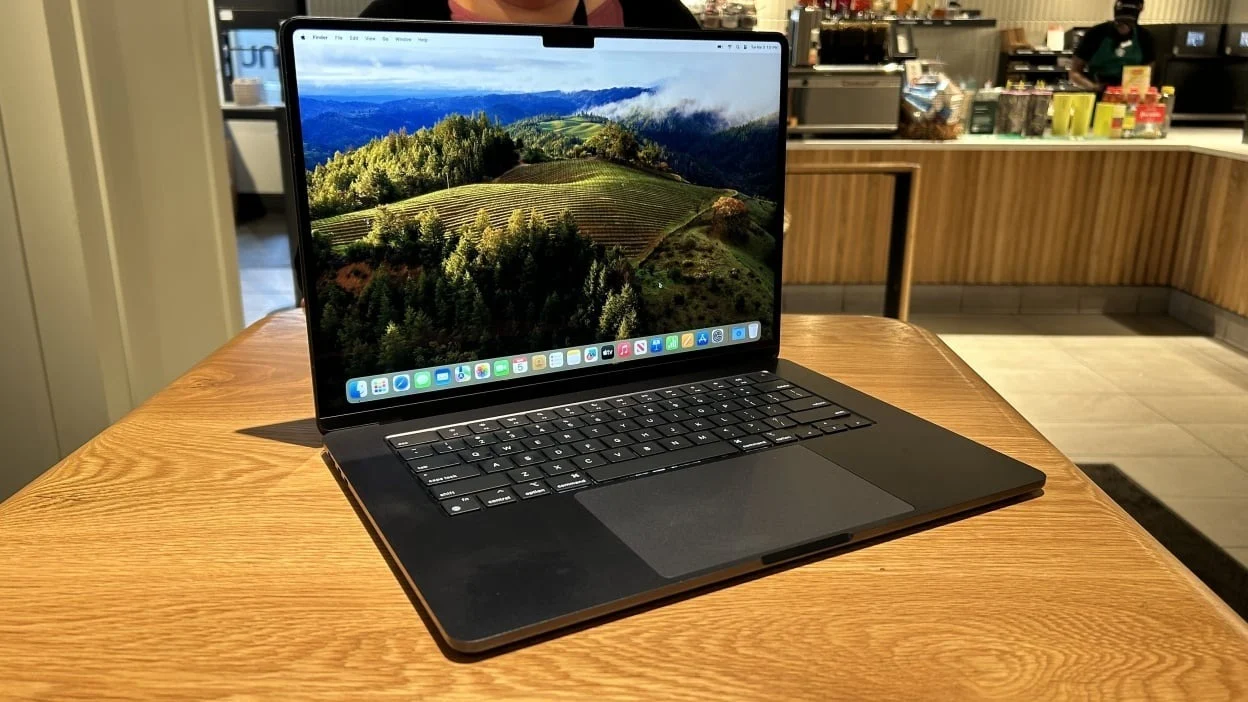
The latest operating system, macOS Sequoia, has many changes and new features that make your Mac better and faster. Joining the public beta is the best option if you want to try out the new features before they’re officially released. This is a comprehensive tutorial for installing macOS Sequoia Public Beta on Macs.
What You Need to Run the macOS Sequoia Public Beta Installation Guide
Make Sure It Works
Make sure macOS Sequoia is compatible with your Mac. This data is usually posted on Apple’s main website. The following models are typically compatible:
MacBook models released after 2016
Current and future MacBook Air models
Pro models of the MacBook (2017 and after)
The Mac mini (models released in 2018 and subsequent years)
Newer models of the iMac (2017 and beyond)
Every variant of the iMac Pro
Pro (from 2019 onwards)
Keep Your Mac Safe with a Backup
Make sure you have a full system backup using Time Machine or another backup option before installing the beta. In the event that an error occurs during installation, this step is critical for preserving data.
Join Apple’s Bespoke Software Beta Program
Being a member of Apple’s Beta Software Program is a prerequisite to downloading the macOS Sequoia Public Beta. Sign in with your Apple ID at the Apple Beta Software Program website. You can register your device by following the on-screen instructions.
Getting the Public Beta of macOS Sequoia
Acquire the Evaluation Report
Visit the “Enroll Your Devices” tab once you’ve enrolled.
Go to the “Download the macOS Public Beta Access Utility” section after choosing macOS.
The installer needs to be executed after opening the downloaded file. Doing so will install the Mac beta profile.
Update for Software
Choose “Software Update” from the “System Preferences” menu.
Now, your Mac should detect the macOS Sequoia Public Beta.
The beta version can be downloaded by clicking the “Download” button. Depending on the speed of your internet connection, this could take a while.
Methods for Setting Up macOS Sequoia Public Beta
A box will pop up asking you to begin the installation process once the download is finished.
Select “Continue” and adhere to the directions displayed on the screen.
Adhere to the criteria and terms.
You can install the beta on any disc you like. In most cases, this will serve as your primary boot disc.
Press “Install” to start the installation process. Several restarts of your Mac will be required.
First Configuration
The setup assistant will boot into your Mac after installation.
Just follow the on-screen instructions to set up your preferences, such as logging in with your Apple ID and enabling Siri.
Mac OS X Sequoia will greet you once the installation is finished.
Introducing macOS Sequoia: A Journey into New Features
Performance Improvement
Your Mac will run faster and be more responsive with macOS Sequoia’s enhanced system performance. Notable improvements comprise:
Managed system resources more efficiently.
Application startup times that are faster.
Extended runtime on MacBook batteries.
New User Interface Feel the latest version of the user interface with updated features like:
Redesigned app icons.
Window corners were polished.
Improved dark mode that looks the same in all of your apps.
Cutting-Edge Security Measures
To better safeguard your information, Sequoia has implemented new privacy measures:
Enabled finer-grained control over app permissions.
Improved Safari’s privacy settings, including the ability to block trackers.
App activity may now be monitored with a new privacy dashboard.
Boosts to Efficiency
Get more done with the help of updated features and tools:
Reduce interruptions by entering focus mode.
Better Mission Control and enhanced multitasking capabilities.
Updates and additions to native applications such as Notes and Reminders.
In the event that the installation is botched:
You must have a minimum of 20 GB of available disc space.
Turn your Mac back on and give the installation another go.
If the download doesn’t work, make sure your internet connection is clear.
Problems with Performance
If you encounter any problems with performance after installation:
Holding down Option, Command, P, and R while restarting your Mac will reset the NVRAM/PRAM.
To enter Safe Mode while starting up, press and hold the Shift key. If the problems still exist, try restarting.
Backing up to a stable version of macOS
Revert to the stable version if you encounter major issues:
You can return your computer to an earlier version of Windows by using your Time Machine backup.
Another option is to build an installer of the most recent stable macOS version and install it from scratch.