Understanding the Limitations of Google’s Built-in Backup
Google’s built-in backup solution for Android covers various data types, including app data, call history, and contacts, but it does have limitations when it comes to text messages. By default, Google Drive saves SMS messages for only 57 days, and it doesn’t cover MMS messages at all. This means that for a comprehensive and long-term backup solution, relying solely on Google’s built-in backup may not be sufficient.The Solution: SMS Backup and Restore
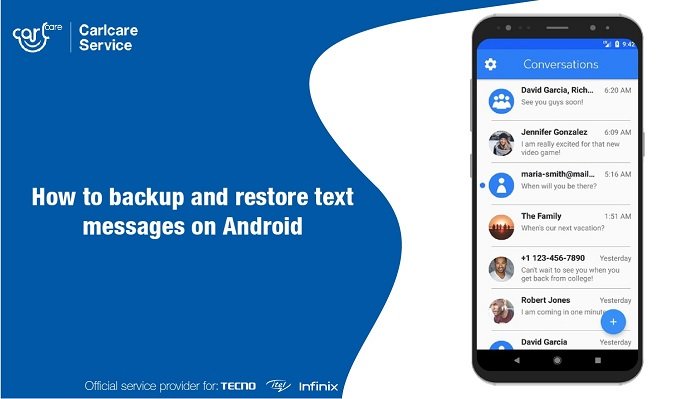
To ensure a comprehensive and reliable backup of your Android text messages, we recommend using the third-party app SMS Backup & Restore. This powerful app allows you to fully protect your text messages, including both SMS and MMS messages, with ease. With its intuitive interface and versatile features, SMS Backup & Restore provides a user-friendly experience for preserving your valuable conversations.Step-by-Step Guide: How to Backup and Restore Text Messages
Step 1: Install SMS Backup & Restore from the Play Store
Start by installing the SMS Backup & Restore app from the Google Play Store. It offers a free, ad-supported version with all the necessary features. For an ad-free experience, you can opt for the SMS Backup & Restore Pro version by paying a one-time fee.Step 2: Initiate the Backup Process
After launching the app, tap “Get Started” and grant the necessary permissions. Make sure to select “Messages” for backup while unchecking “Call logs” if you only wish to back up text messages. Tap “Next” to proceed.Step 3: Choose a Storage Location
Select a storage location for your backup. While saving the backup on your Android device is an option, we highly recommend choosing a cloud storage service like Google Drive for added security and accessibility. Tap “Next” and log in to your chosen cloud storage account when prompted.Step 4: Configure Backup Settings
Choose a folder within your cloud storage to store the backup. If you prefer to use the default folder, tap “Use this folder.” Alternatively, create a new folder and name it according to your preferences.Step 5: Initiate the Backup
Tap “Save” and then “Next.” Optionally, you can schedule automatic recurring backups by selecting “Schedule recurring backups.” However, if you prefer manual control, deselect this option and tap “Back up now.”Step 6: Wait for the Backup Completion
Allow the app some time to complete the backup process. Once done, your text messages are securely stored in your chosen cloud storage location.Step 7: Restoring a Backup
To restore a backup to your Android device, open the SMS Backup & Restore app on your new device. Tap the three-line icon in the top-left corner, then select “Restore.”Step 8: Select the Backup Location
Choose the location of your backup, and the app should automatically detect your most recent backup.Step 9: Initiate the Restore
Tap “Restore” to begin the restoration process. The app may prompt you to temporarily set SMS Backup & Restore as the default SMS app necessary for the successful restoration of your messages.Step 10: Completion and Closing
Wait for the restoration process to complete, and once done, tap “Close.”Conclusion
In conclusion, preserving your text messages on Android is essential to retaining valuable information and cherished memories. While Google’s built-in backup mechanisms have limitations, third-party apps like SMS Backup & Restore provide a comprehensive and user-friendly solution. By following our step-by-step guide, you can easily backup and restore your Android text messages, ensuring you never lose a precious conversation again.


